-
工業
-

一般製造業
-

廃棄物処理
-

プレキャスト
-

パワー
-

石
-

製紙
-

金属製造
-

橋梁工事
-
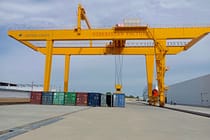
港湾クレーン:コンテナおよびバルク材の取り扱い
-
石油・ガス産業向け天井クレーン:運用効率の向上
-
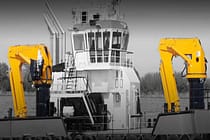
船舶への効率的な貨物積み込みのための海上クレーン
-

自動車産業向け天井クレーン:効率的な自動化ソリューション
-
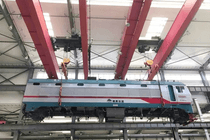
鉄道向け天井クレーンソリューション:線路敷設、車両保守、コンテナハンドリング
-
食品・飲料向け天井クレーン:効率的なハンドリングのための信頼性の高いソリューション
-
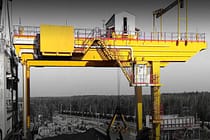
効率的なセメント、ガラス、レンガ、プレキャストコンクリート製造のための天井クレーン
-

航空業界向け天井クレーン:航空機の整備と組立
-
航空宇宙用オーバーヘッドクレーン:ロケットの打ち上げと輸送のための精密な吊り上げ
-
- 製品
- クレーン部品
- 会社概要
- 連絡先


-
工業
-
一般製造業
-
廃棄物処理
-
プレキャスト
-
パワー
-
石
-
製紙
-
金属製造
-
橋梁工事
-
港湾クレーン:コンテナおよびバルク材の取り扱い
-
石油・ガス産業向け天井クレーン:運用効率の向上
-
船舶への効率的な貨物積み込みのための海上クレーン
-
自動車産業向け天井クレーン:効率的な自動化ソリューション
-
鉄道向け天井クレーンソリューション:線路敷設、車両保守、コンテナハンドリング
-
食品・飲料向け天井クレーン:効率的なハンドリングのための信頼性の高いソリューション
-
効率的なセメント、ガラス、レンガ、プレキャストコンクリート製造のための天井クレーン
-
航空業界向け天井クレーン:航空機の整備と組立
-
航空宇宙用オーバーヘッドクレーン:ロケットの打ち上げと輸送のための精密な吊り上げ
-
- 製品
- クレーン部品
- 会社概要
- 連絡先


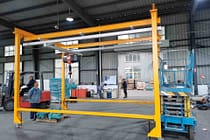
固定ガントリークレーンを設置するにはどうすればよいですか?
製造業や建設業に携わっている場合、重い物を持ち上げたり移動したりするために固定式ガントリークレーンが必要になる可能性があります。固定式ガントリークレーンの設置は困難な作業のように思えるかもしれませんが、適切なツールと準備があれば、迅速かつ効率的に行うことができます。この記事では、固定式ガントリークレーンの設置手順を説明します。
固定式ガントリークレーンの設置前の準備
適切な場所を選択する
固定式ガントリークレーンを設置する最初のステップは、適切な場所を選ぶことです。場所は平らで水平で、クレーンが安全に操作できる十分なスペースが必要です。また、電線や木の枝などの頭上の障害物がないことを確認する必要があります。さらに、クレーンを設置する場所の地面の耐荷重を考慮する必要があります。
必要なさまざまなツールを準備する
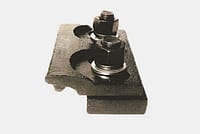
- トルクレンチ: このツールは、ボルトが正しい仕様で締め付けられていることを確認し、クレーン部品を損傷する可能性のある締めすぎを防止します。
- 測定テープ: 正確な測定が可能になり、クレーンが正しい場所に設置されていることを確認できます。
- 溶接機: 金属部品を単一の構造に結合するために使用されます。
- 移動式クレーン: 設置プロセス中に重い部品を持ち上げて所定の位置に移動するために使用されます。
固定式ガントリークレーンの設置手順
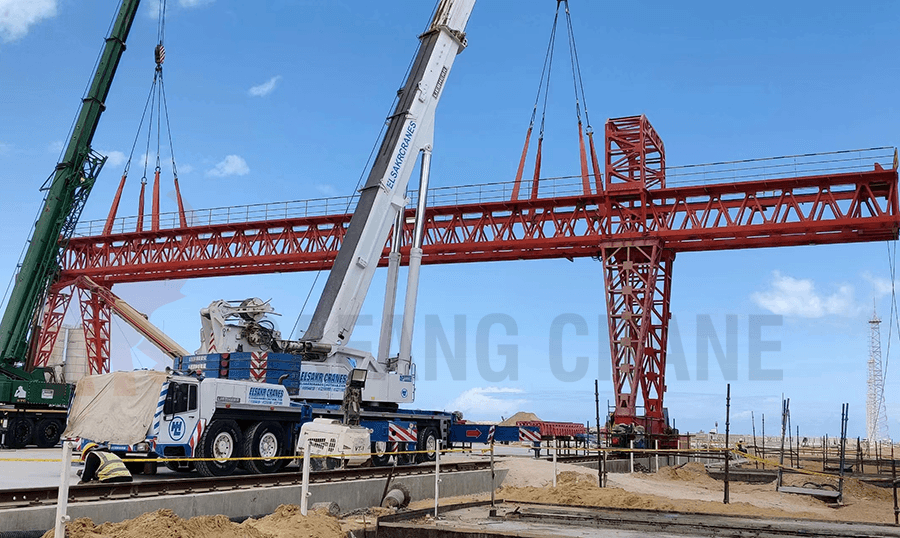
ステップ1: 基礎を構築する
適切な場所を選んだら、次のステップは基礎を築くことです。基礎はコンクリートで作られ、クレーンの重量とクレーンの積載量を支えるのに十分な深さが必要です。基礎の深さはクレーンの重量容量によって異なります。

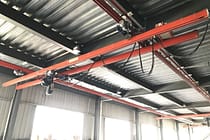
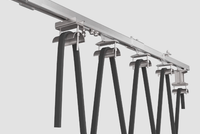
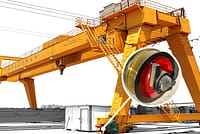
ステップ2: 移動機構と下部ビームの取り付け
移動機構はクレーンをトラックの長さに沿って移動させる役割を果たし、下部ビームはクレーンのホイストおよびトロリー システムのベースとして機能します。
トラックの敷設が完了したら、移動機構をトラック上に設置します。この作業では、トロリーの車輪を移動機構に取り付け、ボルトでトラックに固定します。次に、下部のビームを移動機構上に設置します。通常、この作業では、ビームをトロリーに取り付け、ボルトで固定します。
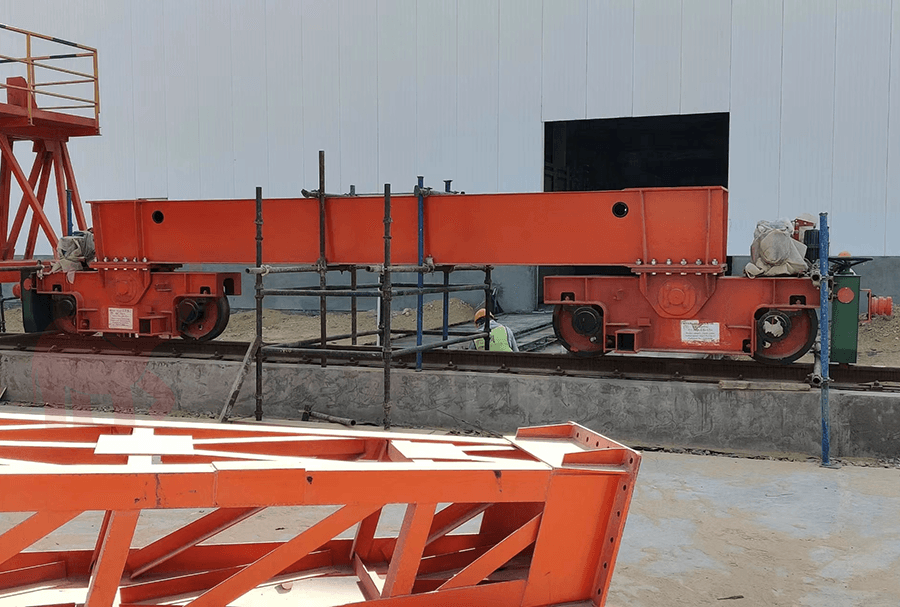
ステップ3: サポート脚を取り付ける
基礎梁が所定の位置にあれば、支持脚を取り付けることができます。支持脚は基礎梁の両端に配置し、基礎にしっかりとボルトで固定する必要があります。支持脚は、基礎梁に対して垂直になるように、垂直方向と水平方向に配置する必要があります。

ステップ4:メインビームを取り付ける
メイン ビームを取り付けるには、クレーンなどの吊り上げ装置を使用して所定の位置に持ち上げる必要があります。次に、メイン ビームを支持脚の上に置き、ボルトなどの留め具を使用して所定の位置に固定する必要があります。
支持脚とメインビームが水平であることを確認し、必要に応じて調整します。
ボルトを使用して、サポート レッグとメイン ビームの接続を締めます。クレーンの動きやぐらつきを防ぐために、ボルトが十分に締められていることを確認してください。
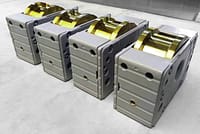
ステップ5: 電気設備を設置する
固定ガントリー クレーンの設置における最後のステップは、電気設備の設置です。これには、モーターや制御装置など、クレーンのさまざまな電気部品を電源に接続し、すべてが正常に機能していることを確認することが含まれます。電気設備の設置方法は次のとおりです。
- 配線を接続する: 最初のステップは、クレーンの電気部品の配線を接続することです。通常、さまざまな部品から制御パネルまたはその他の中央の場所まで配線を配線します。
- システムをテストする: 配線が完了したら、システムをテストして、すべてのコンポーネントが正しく機能していることを確認する必要があります。これには、クレーンが正しく動作していることを確認するための一連のテストやチェックの実行が含まれる場合があります。
- 最終調整: 最後に、電気設備の設置とテストが完了したら、クレーンが最高のパフォーマンスで動作していることを確認するために、クレーンに最終調整を行う必要がある場合があります。
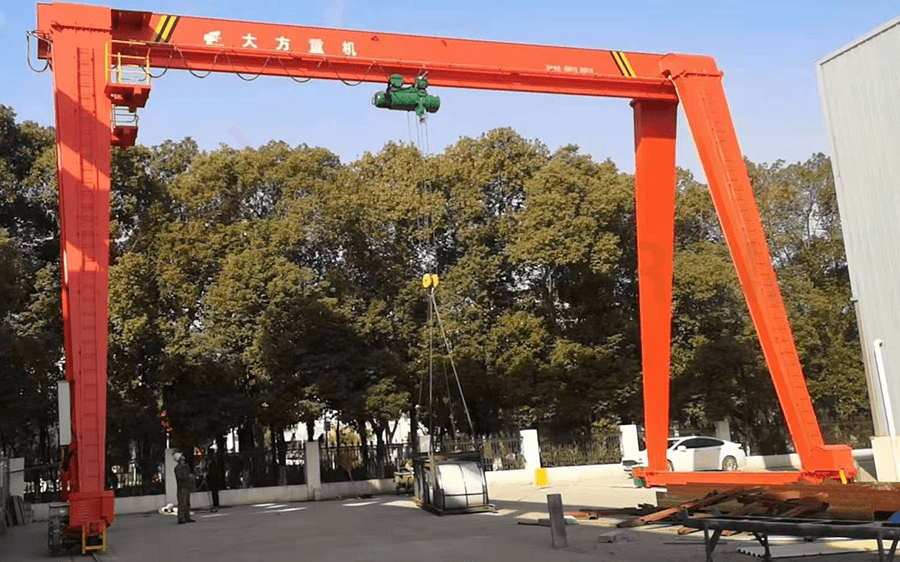
設置後の固定ガントリークレーンのテスト
- 目視検査を実行する: テスト手順を開始する前に、クレーン システム全体の目視検査を実施することが重要です。これには、すべての可動部品、ワイヤー、ケーブル、ホイスト、トロリーをチェックして、それらが正しく配置され、しっかりと固定されていることを確認することが含まれます。
- 荷重テスト: 次のステップでは、クレーンの吊り上げ能力を評価するために荷重テストを実施します。まず、フックにテスト用の重り (通常は水を入れた容器) を取り付け、ガントリー クレーンの最大の高さに達するまでゆっくりと地面から持ち上げます。荷物を数分間所定の位置に保持し、すべてが安定して安全であることを確認します。
- 緊急停止機能をテストする: 緊急事態が発生した場合、クレーン オペレーターは緊急停止ボタンを使用してクレーンのすべての動作を直ちに停止できる必要があります。この機能をテストするには、緊急停止ボタンを押して、すべてのクレーンの動作が完全に停止することを確認します。
- 無負荷テストの実施: 無負荷テストの実施は、荷物を取り付けていない状態でのクレーンの動きと速度を確認するために不可欠です。クレーンのフックを最大の高さまで持ち上げ、クレーンのトロリーをガントリー レール上で前後に動かします。これにより、クレーンの動きの精度を確認し、ぎくしゃくした動きや不均一な動きがないことを確認できます。
- 過負荷保護システムを確認する: 過負荷保護システムは、クレーンが定格容量を超える荷物を持ち上げないようにするための重要な安全機能です。このシステムをテストするには、クレーンの定格容量を超える荷物をフックに取り付けます。過負荷保護システムが自動的に作動し、クレーンが荷物を持ち上げないようにします。
- リミット スイッチをテストする: リミット スイッチは、クレーンがどの方向にも過剰移動しないようにする重要な安全機能です。クレーン フックを許容移動範囲の両端に向かってゆっくりと動かして、リミット スイッチをテストします。範囲の端に到達すると、クレーンの動きは自動的に停止します。
- 電気システムのチェック: 最後に、電気システムをチェックして、すべての接続が確実に行われ、クレーンのコントロール パネルが正しく機能していることを確認します。ペンダント コントロールをテストして、すべての動きがスムーズで応答性があることを確認します。
よくある質問
- 固定式ガントリークレーンの設置にはどのくらいの時間がかかりますか?
設置時間は、クレーンのサイズと設置場所の複雑さによって異なります。平均すると、設置には 1 日から数週間かかります。 - 固定式ガントリークレーンを自分で設置できますか?
固定式ガントリークレーンは自分で設置することも可能ですが、安全性と効率性を考慮して専門の設置チームを雇うことをお勧めします。 - ガントリークレーンの場所を選択する際に考慮すべき要素は何ですか?
ガントリークレーンの設置場所は、荷重要件、アクセス性、安全性、環境規制に基づいて選択する必要があります。 - ガントリークレーンで使用される電気制御とは何ですか?
ガントリークレーンの電気制御には、リミット スイッチ、過負荷保護、可変周波数ドライブ、モーター スターターが含まれます。 - ガントリークレーンはどのくらいの頻度で検査する必要がありますか?
ガントリークレーンは、製造元のガイドラインと適用される安全規制に従って定期的に検査する必要があります。検査の頻度は、使用状況や環境条件によって異なる場合があります。
お問い合わせを送信
- Eメール: sales@hndfcrane.com
- ワッツアップ: +86 191 3738 6654
- 電報: +86 191 3738 6654
- 電話: +86-373-581 8299
- ファックス: +86-373-215 7000
- 追加: 中国河南省新郷市長苗工業区
 微信
微信
- お問い合わせ
- Eメール: sales@hndfcrane.com
- ワッツアップ: +86 191 3738 6654
- 電報: +86 191 3738 6654
- 電話: +86-373-581 8299
-