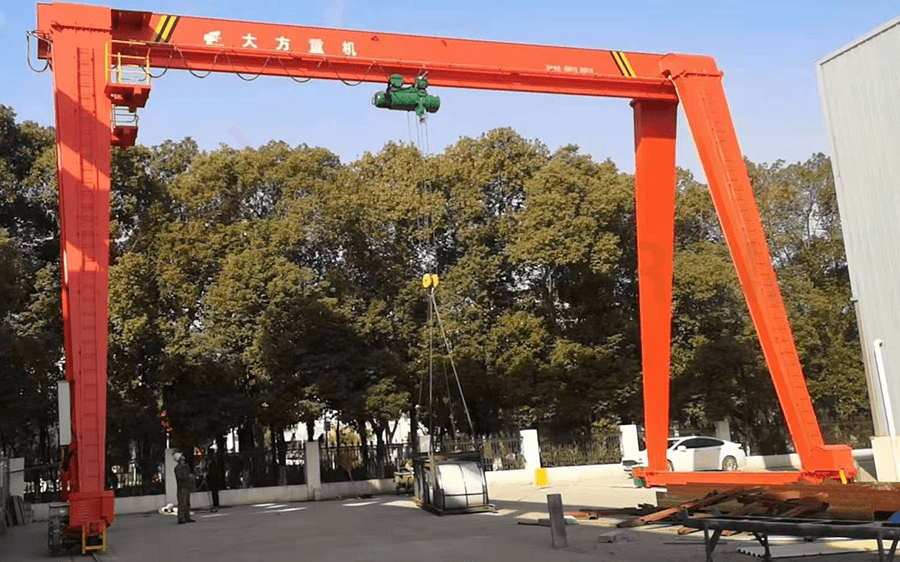
If you are in the manufacturing or construction business, chances are you need a fixed gantry crane to lift and move heavy objects. Installing a fixed gantry crane may seem like a daunting task, but with the right tools and preparation, it can be done quickly and efficiently. In this article, we will guide you through the steps on how to install a fixed gantry crane.
Preparation Before Installation Of Fixed Gantry Crane
Choose The Right Location
The first step in installing a fixed gantry crane is to choose the right location. The location should be flat and level, with enough space for the crane to operate safely. You also need to ensure that there are no overhead obstructions, such as power lines or tree branches. Additionally, you need to consider the weight capacity of the ground where the crane will be installed.
Prepare The Various Tools Needed
- Torque wrench: This tool ensures that the bolts are tightened to the correct specification and prevents over-tightening that could damage the crane components.
- Measuring tape: It allows for precise measurements to be taken and helps ensure that the crane is installed in the correct location.
- Welder: They are used to join metal components into a single structure.
- Mobile crane: It is used to lift heavy components and move them into position during the installation process.
Fixed Gantry Crane Installation Steps
Step 1: Construct The Foundation
Once you have chosen the right location, the next step is to construct the foundation. The foundation should be made of concrete and should be deep enough to support the weight of the crane and the load it will carry. The depth of the foundation will depend on the weight capacity of the crane.
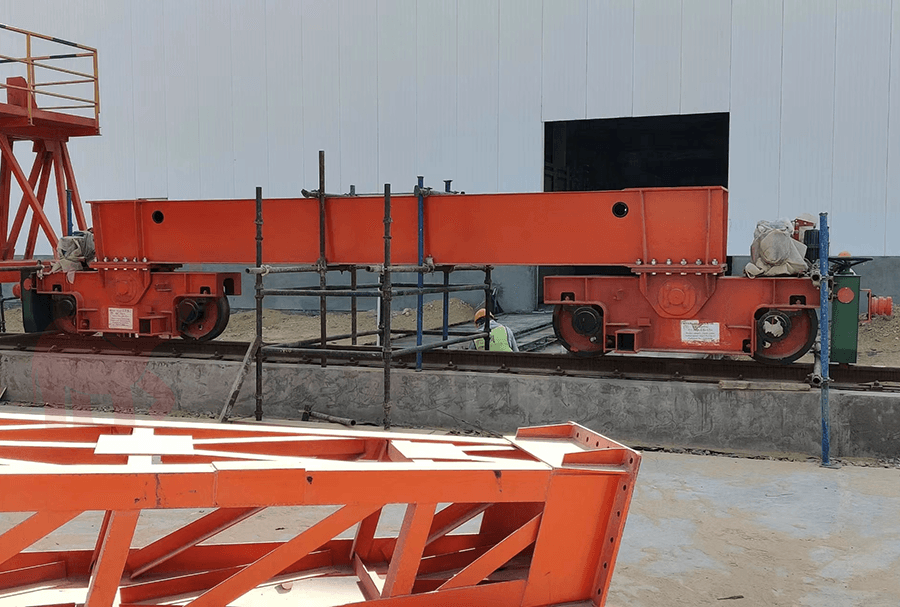
Step 2: Traveling Mechanism And Lower Beam Installation
The traveling mechanism is responsible for moving the crane along the length of the track, while the lower beam serves as the base for the crane’s hoist and trolley systems.
Once the track has been laid out, the traveling mechanism can be installed onto the track. This involves attaching the trolley wheels to the traveling mechanism and securing it to the track with bolts. The lower beam can then be installed onto the traveling mechanism, which typically involves fitting the beam onto the trolley and securing it in place with bolts.
Step 3: Install The Support Legs
Once the ground beam is in place, the support legs can be installed. The support legs should be positioned at each end of the ground beam and should be securely bolted to the foundation. The support legs should be positioned vertically and horizontally so that they are perpendicular to the ground beam.
Step 4: Install The Main Beam
To install the main beam, you need to lift it into place using a crane or other lifting device. You then need to position it on top of the support legs and secure it in place using bolts or other fasteners.
Check that the support leg and main beam are level and adjust if necessary.
Use bolts to tighten the connection between the support leg and the main beam. Make sure that the bolts are tightened sufficiently to prevent movement or wobbling of the crane.
Step 5: Install The Electrics
The final step in installing a fixed gantry crane is to install the electrics. This involves connecting the various electrical components of the crane, such as the motor and controls, to a power source and ensuring that they are all functioning properly. Here’s how to install the electrics:
- Connect the wiring: The first step is to connect the wiring for the crane’s electrical components. This typically involves running wires from the various components to a control panel or other central location.
- Test the system: Once the wiring is in place, you’ll need to test the system to ensure that all of the components are functioning properly. This may involve performing a series of tests or checks to verify that the crane is operating correctly.
- Final adjustments: Finally, once the electrics have been installed and tested, you may need to make final adjustments to the crane to ensure that it is operating at peak performance.
Test The Fixed Gantry Crane After Install
- Perform a Visual Inspection: Before starting any testing procedures, it’s important to conduct a visual inspection of the entire crane system. This includes checking all moving parts, wires, cables, hoist, and trolley to ensure they’re correctly positioned and securely fastened.
- Load Test: The next step involves conducting a load test to assess the crane’s lifting capabilities. Start by attaching a test weight (usually a water-filled container) to the hook, then slowly lift it off the ground until it’s at the maximum height of the gantry crane. Hold the load in place for a few minutes to ensure that everything is stable and secure.
- Test the Emergency Stop Function: In case of an emergency, the crane operator should be able to stop all crane movements immediately using the emergency stop button. Test this function by pressing the emergency stop button and ensuring that all crane movements come to a complete stop.
- Conduct a No-Load Test: Conducting a no-load test is essential to check the movements and speeds of the crane without any load attached. Lift the crane hook to its maximum height, then maneuver the crane’s trolley back and forth across the gantry rail. This allows you to check the precision of the crane’s movements and ensure that there are no jerky or uneven motions.
- Check the Overload Protection System: An overload protection system is an essential safety feature that prevents the crane from lifting loads beyond its rated capacity. To test this system, attach a load that exceeds the crane’s rated capacity to the hook. The overload protection system should trigger automatically and prevent the crane from lifting the load.
- Test the Limit Switches: Limit switches are crucial safety features that prevent the crane from over-traveling in any direction. Test the limit switches by slowly moving the crane hook toward each end of its permitted travel range. The crane’s motion should stop automatically when it reaches the end of its range.
- Check the Electrical System: Lastly, check the electrical system to ensure that all connections are secure, and the crane’s control panel is functioning correctly. Test the pendant controls to ensure that all movements are smooth and responsive.
常见问题
- How long does it take to install a fixed gantry crane?
The installation time can vary depending on the size of the crane and the complexity of the installation site. On average, installation can take anywhere from one day to a few weeks.
- Can I install a fixed gantry crane myself?
While it is possible to install a fixed gantry crane yourself, it is recommended that you hire a professional installation team for safety and efficiency purposes.
- What factors should be considered when choosing a location for a gantry crane?
The location of the gantry crane should be chosen based on load requirements, accessibility, safety considerations, and environmental regulations.
- What are the electrical controls used in gantry cranes?
Electrical controls in gantry cranes include limit switches, overload protection, variable frequency drives, and motor starters.
- How often should a gantry crane be inspected?
Gantry cranes should be inspected regularly according to the manufacturer’s guidelines and applicable safety regulations. The inspection frequency may vary based on usage and environmental conditions.